Select the Entries menu option
As the welcome screen indicates, click or touch the Entries menu option
at the top of the screen. You will be directed to a data entry form like this:
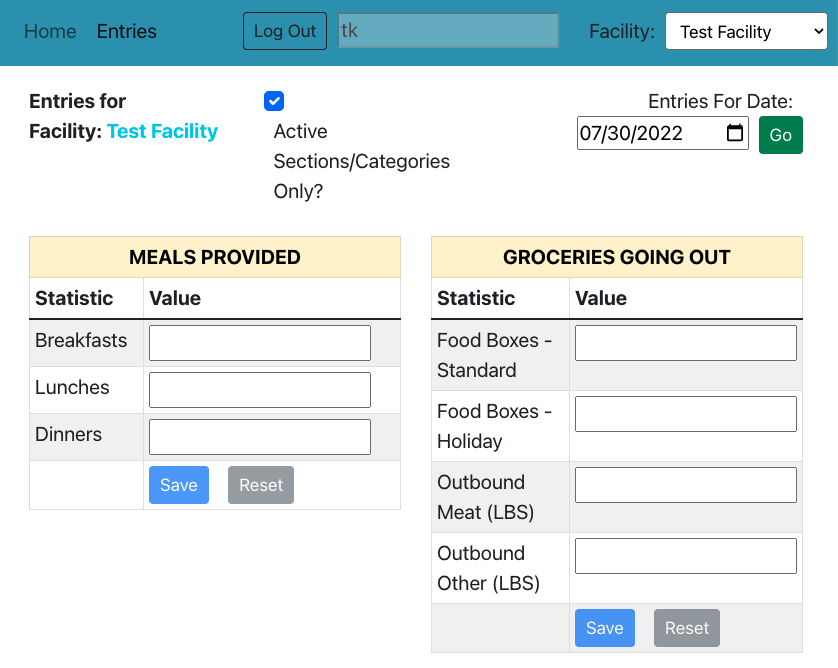
The information you can enter is organized into Sections with one or more Categories of data to be entered. The set of Sections that are available to you depends on the permissions that have been associated with your username.
Make sure the Entries For Date is correct
The date that is presented will be today’s date, which is normally the correct value if you are entering information for the current day. If it is not the correct date, use the calendar control to choose which date you want to enter data for.
Which Sections are shown?
The set of Sections presented to you for entry will depend on what permissions you have been given by the administrator. In this case, our test user is presumably responsible for entering data from the kitchen, so the related Sections are shown – but not things like clothing that was distributed, or other information not related to this person’s responsibilities.
Enter numbers for the relevant Categories
Enter the values for the Categories you are responsible for. If there was no information for this particular date, you can either leave the field blank or enter a zero. After entering numbers for Breakfasts and Lunches, the screen might look like this:
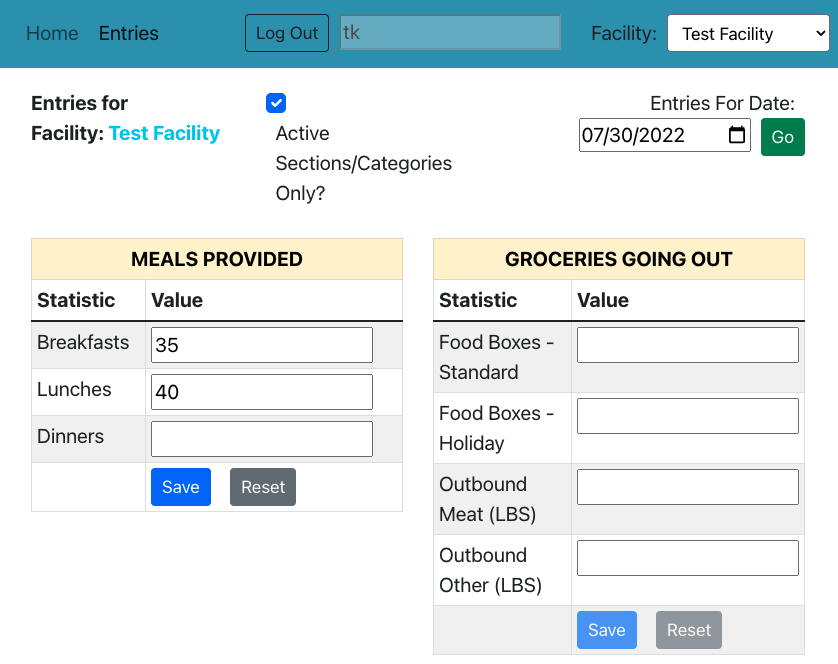
Note that the Save button for the Meals Provided section is now active. Click
or touch Save to cause the values in this Section to be saved. This also
applies if you go back and update values later – be sure to click or touch
Save afterwards.
Log off when you are done
After you are finished, click the Log Out button in the navigation bar. After
this, the device you are using can be used by someone else who will start again
with the logging in process.